free crochet pattern
WHAT IS THIS THING?
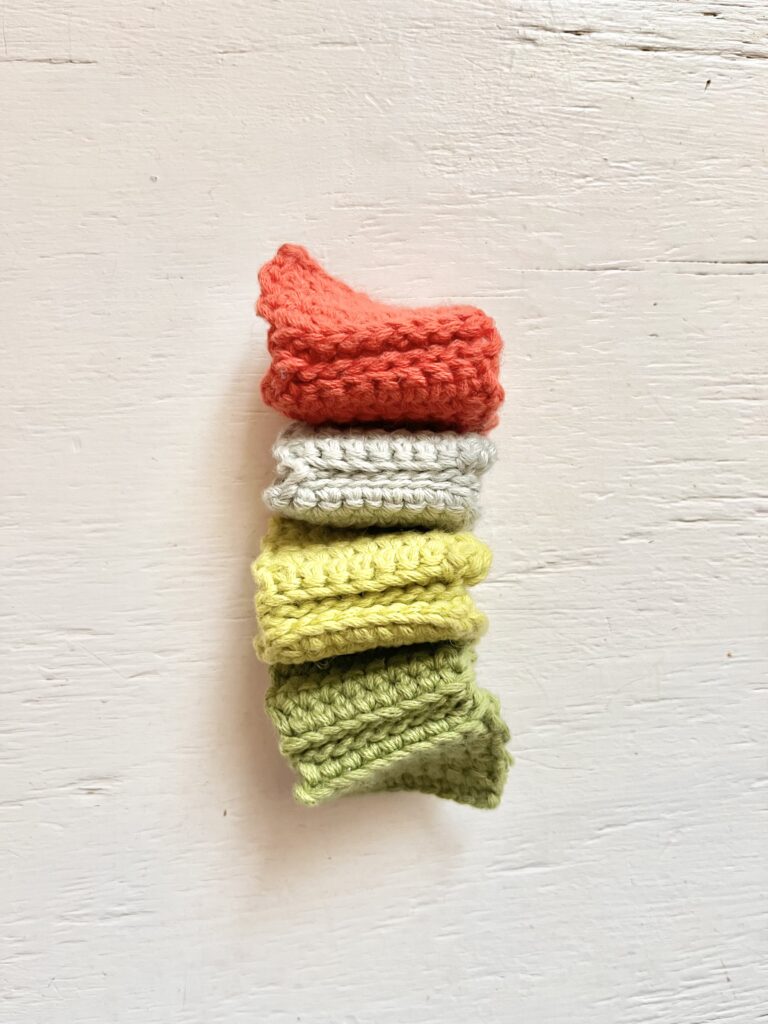
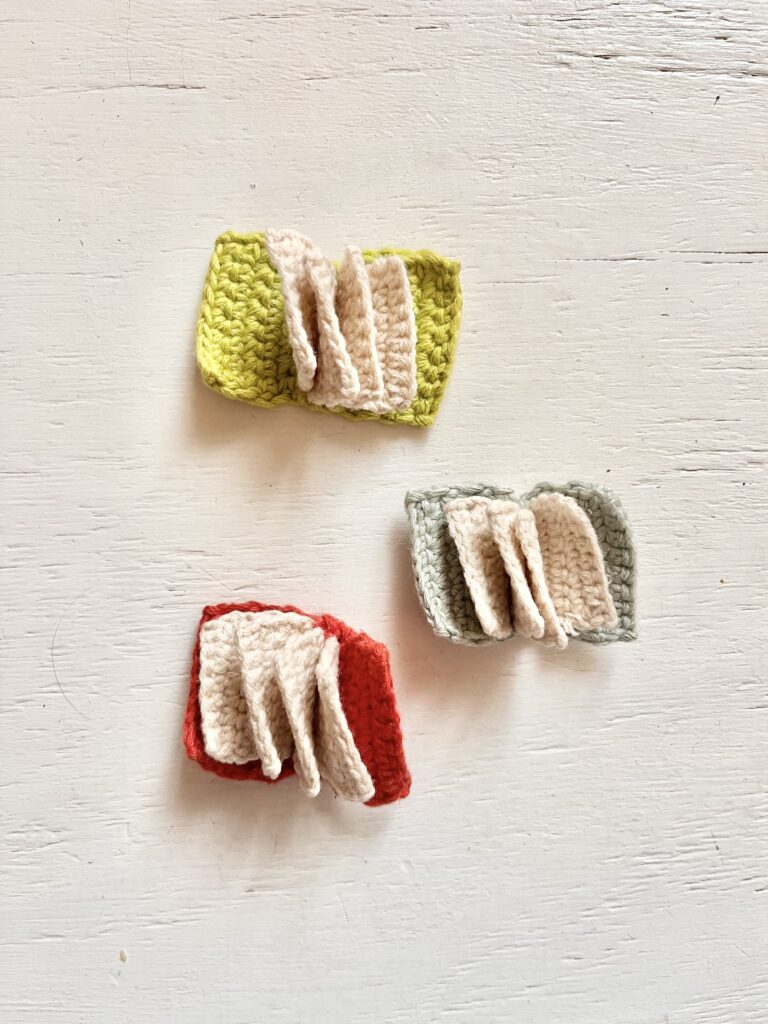
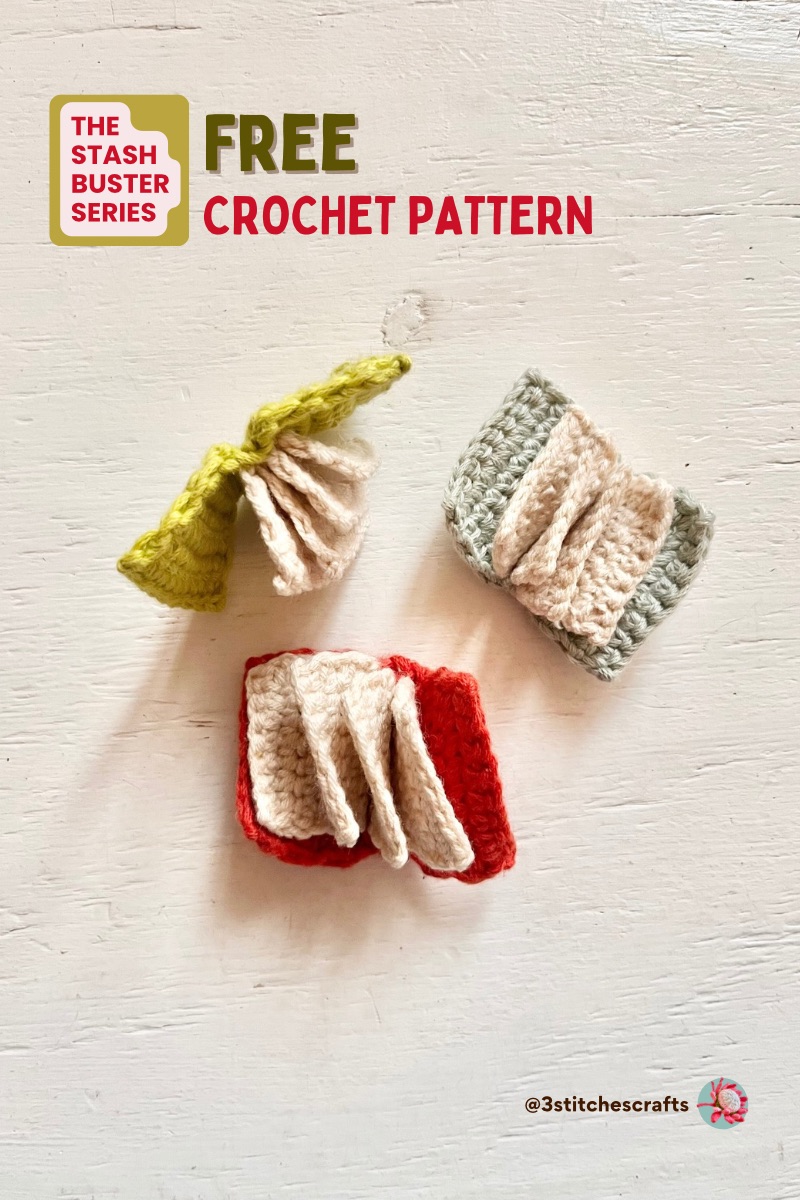
This is the crochet pattern for a mini Book with pages that can flip. Yip. Flip.
If you’re a book lover like I am, it’s the perfect gateway project for bookworms and yarn enthusiasts alike.
This isn’t just any book; it’s a masterpiece of yarn and imagination.
Make your own and just enjoy the tactile joy of flipping through your handmade pages.
WHY YOU’LL LOVE THIS PATTERN?
Customise the Size: Increase the number of chain stitches at the beginning to make a bigger book.
Make it a novel or a short story—it’s up to you.
Perfect last minute Gift: Know a fellow book lover?
This makes a unique and heartfelt gift that they’ll treasure forever.
Beginner-Friendly: Easy-to-follow instructions make this pattern accessible for crocheters of all skill levels.
No plot twists here, just straightforward fun!
Eco-Friendly: No trees were harmed in the making of this book.
Materials
- 3mm Crochet Hook
- Cotton Yarn – Red, Green
- Cotton yarn – Cream
- Scissors
- Yarn Needle
- Toy stuffing like Unicurl
Abbreviations
| [] | Repeat the sequence in the brackets |
| st | stitch |
| MR | Magic Ring |
| ch | chain stitch |
| slst / sl st | slip stitch |
| sc | single crochet |
| inc | 2 single crochet stitches in 1 stitch |
| dec | 1 single crochet made over 2 stitches |
Instructions
Start with the Book Cover:
Row 1:
Row 2-6:
Row 7:
Row 8:
Row 9:
Row 10:
Row 11:
Row 12-16:
ch10, skip 1st ch, sc9
sc in each st across (for 5 rows)
BLO sc9
BLO slst9 (NOTE: Mark any front loop in this row with a stitch marker)
FLO slst9
BLO slst9
BLO sc9
sc in each st across (for 5 rows)
Finish Off and cut yarn.
[9]
[9]
[9]
[9]
[9]
[9]
[9]
[9]
[9]
PIC1: The cover looks like this. We are going to add pages into the stitches left exposed from Rows 8, 9 and 10.
There will be space for about 4 pages
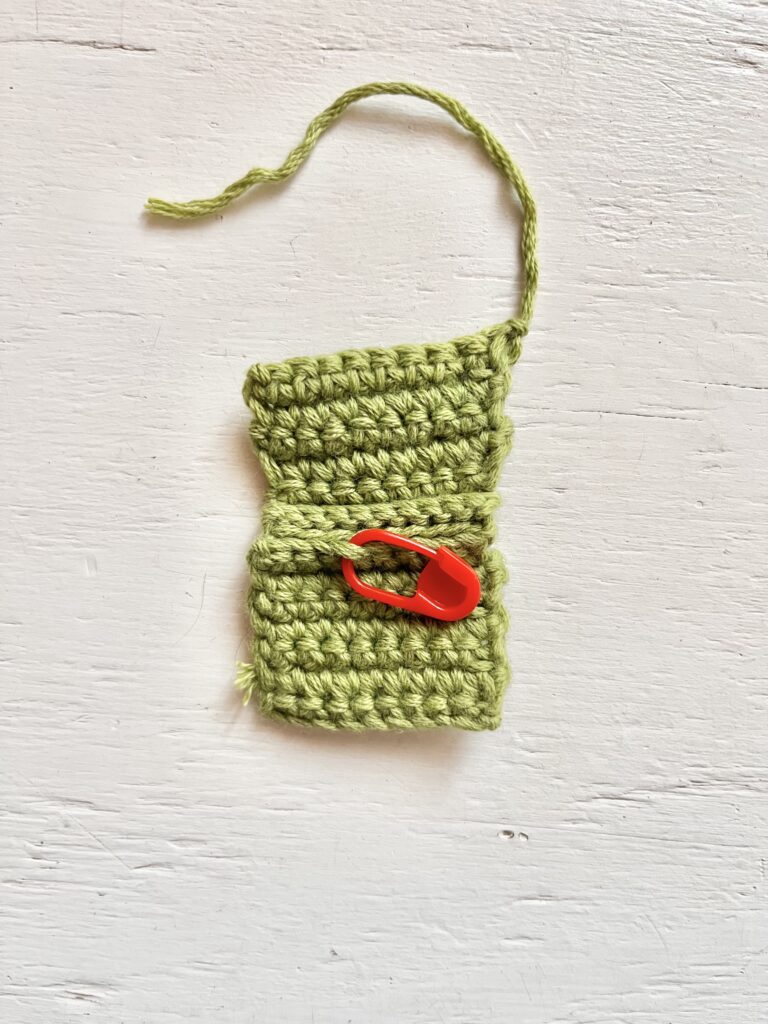
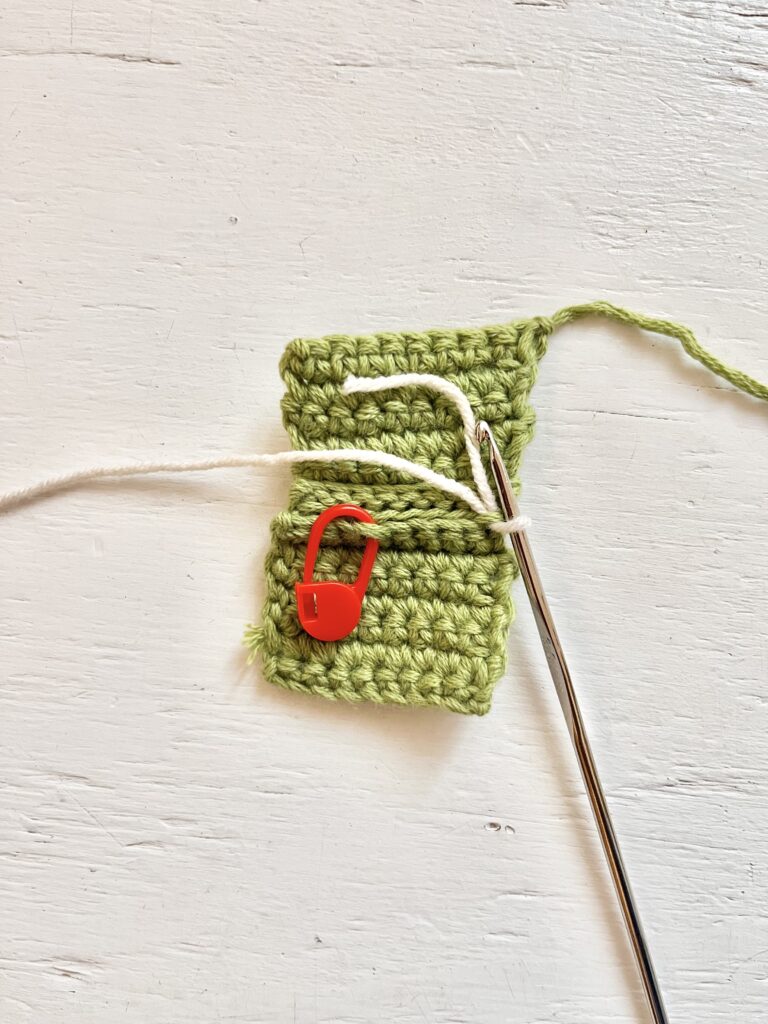
PIC2: The first page is made at the beginning of the marked row.
PIC3: The first page is made into the row marked. This is the end of Row 1 of the first page.

Adding Pages
Row 1:
Row 2-5:
sc8
sc in each st across (for 4 rows)
Finish Off and cut yarn.
[8]
[8]
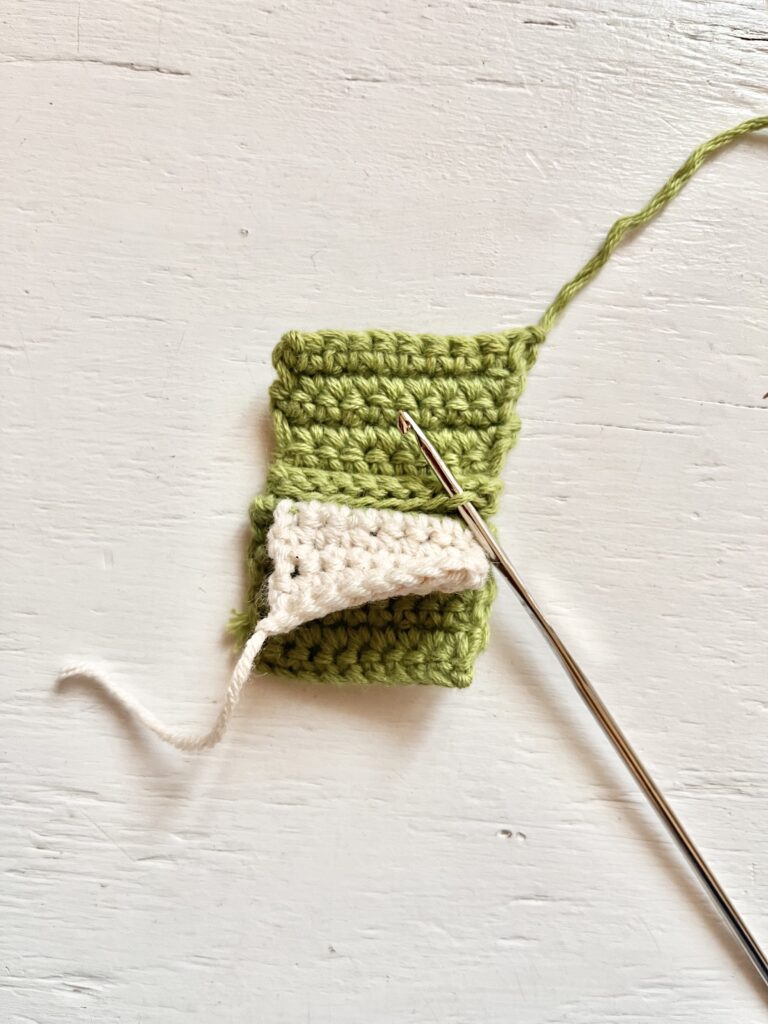
PIC4: Page 1 is complete.
To make Page 2, work into the row of stitches directly behind Page 1 and Repeat Rows 1-5.
PIC5: Page 3 is made in the row if stitches behind Page 2.
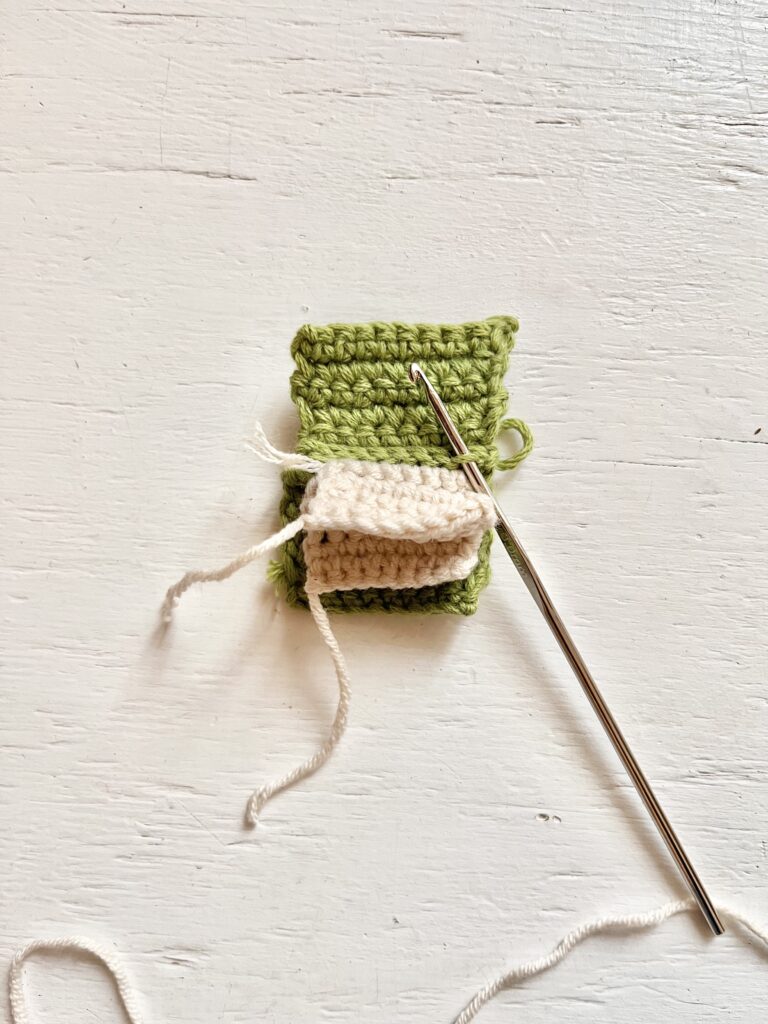
PIC6: And Page 4 is made into the row of stitches behind Page 3. You could possibly squeeze another page in there.
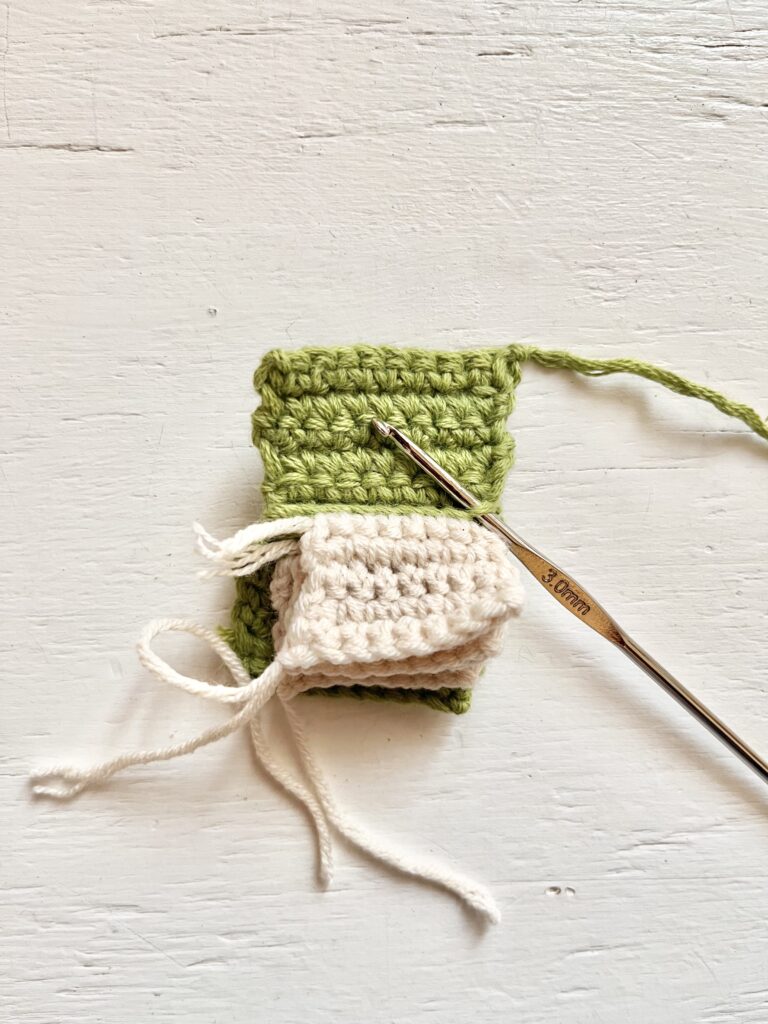
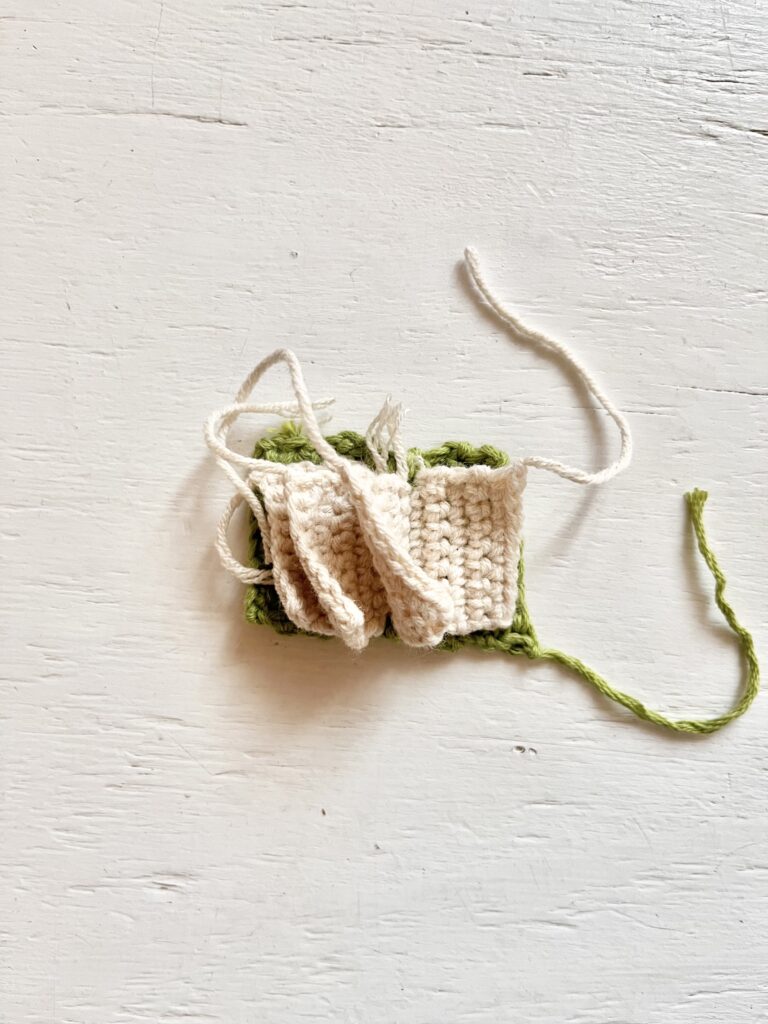
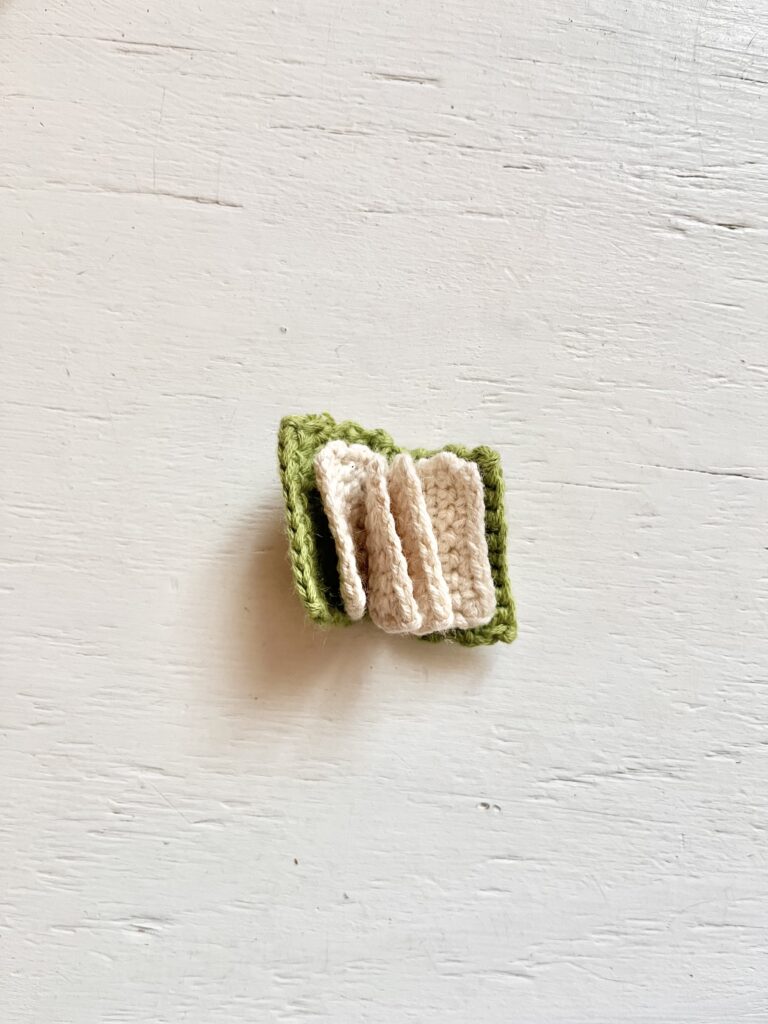
Weave in all your ends.
All Done!

Leave a Reply